Connecting your WooCommerce store to Facebook allows you to promote your products through Facebook Shops, dynamic ads, and Instagram Shopping. Product Feed Pro makes this process simple by generating a Facebook-compatible product feed you can upload directly to your Facebook Business Manager.
This guide walks you through setting up your Facebook product feed step by step.
Create a Product Feed
To create a new feed, open your WordPress Dashboard and go to Product Feed Pro (or Elite) → Manage Feeds, then click Add New Feed.
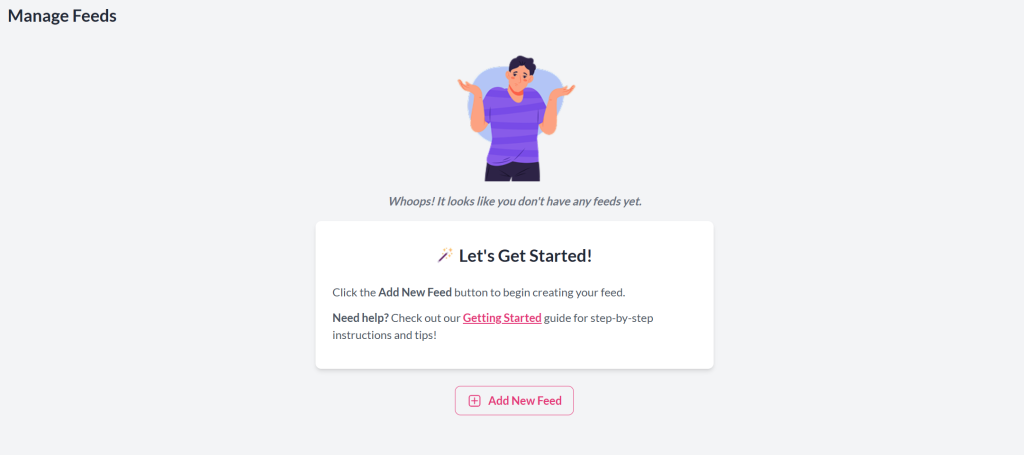

As a shortcut, you can also go directly to Product Feed Pro (or Elite) → Create Feed.
Feed Configuration
General Settings
This is the first step in setting up your feed. Here, you’ll define the channel for which you’re creating the feed, the types of products you want to include, and the format of the feed. You can find detailed instructions here: Complete Guide to Feed General Settings.
For Facebook, select “Meta / Facebook Catalog Feed / Instagram” as your channel to create a Facebook product feed.
Field Mapping
In this step, you’ll map your store’s product fields to the corresponding Facebook feed attributes, following the official Facebook (Meta) product feed specifications.
Accurate field mapping ensures that your product data, such as titles, descriptions, prices, and images, displays correctly in your Facebook catalog.
| Facebook Feed Attributes | Requirement | Default Mapping (Value) | Best Practice | Purpose |
|---|---|---|---|---|
g:id | Required | Product ID | Use SKU or Product ID to avoid duplication. | Uniquely identifies each product in your catalog. |
g:title | Required | Product Name | Keep titles concise, under 65 characters is ideal (the maximum is 200). Include key details like the brand and model to make them clear and searchable. | Displays the product name on Facebook and Instagram listings. |
g:description | Required | Product Description | Write clear, concise descriptions without HTML or special characters within 9999 characters. | Provides product details to help users understand what you’re selling. |
g:link | Required | Link | Ensure URLs are correct and lead to live, public product pages. | Directs customers to the product page on your website. |
g:image_link | Required | Main Image | Use high-quality images (at least 500×500 px) on a white or neutral background. | Shows the main product image in Facebook ads and listings. |
g:availability | Required | Availability | Keep stock statuses accurate and update automatically through scheduled feeds. | Indicates whether the product is in stock. |
g:price | Required | Price | Include currency (e.g., USD, EUR) and make sure prices match your store. | Displays the product’s current price |
g:google_product_category | Optional | Category | Map the most specific category possible (e.g., “Apparel & Accessories > Shoes”) from the Category Mapping Step | Classifies your product according to Google taxonomy. |
g:brand | Required | Brands | Use consistent brand names across all products. | Identifies the product manufacturer or brand. |
g:gtin | Optional | Global Unique ID (GTIN, UPC, EAN, or ISBN) | Required for most products; obtain from the manufacturer if missing. | Provides a unique global product identifier (GTIN, UPC, EAN, or ISBN). |
g:mpn | Optional | MPN (Added Custom Attribute) | Use only when GTIN isn’t provided; keep it consistent. | Manufacturer Part Number, used if no GTIN is available. |
g:condition | Required | Condition | Keep the default, unless you’re selling refurbished or used items. | Specifies the product condition. |
g:item_group_id | Optional | Item Group ID | Keep the default to link all variants with the proper parent product ID | Groups product variants (e.g., color, size). |
If you wish to assign a different value for your feed attributes, you can check the complete feed attribute guidance: https://adtribes.io/knowledge-base/complete-list-of-product-attributes-for-mapping/.
Category Mapping (Optional)
Map your WooCommerce categories to Google’s taxonomy to ensure products appear in relevant searches. On the left, see your categories; on the right, type at least four characters to auto-suggest Google’s matches. Map all categories for better performance, lower CPC, and higher sales. The plugin inserts Google’s taxonomy IDs into the feed.
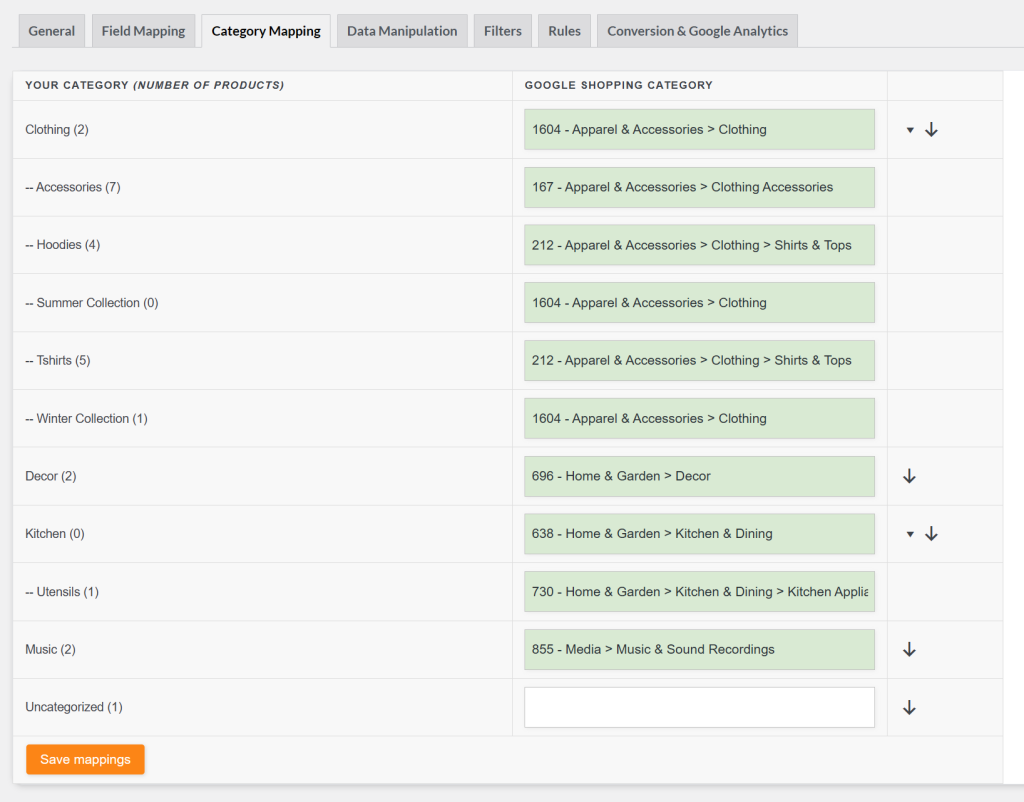
Click Save & Continue to proceed to the Filters step
Filters
Filters let you customize your product feed by including or excluding products based on conditions set in the Filter Builder. This ensures only the most relevant products are sent to Google Merchant Center, helping you reach the right audience and reduce wasted spend on products that aren’t suitable for Shopping ads.
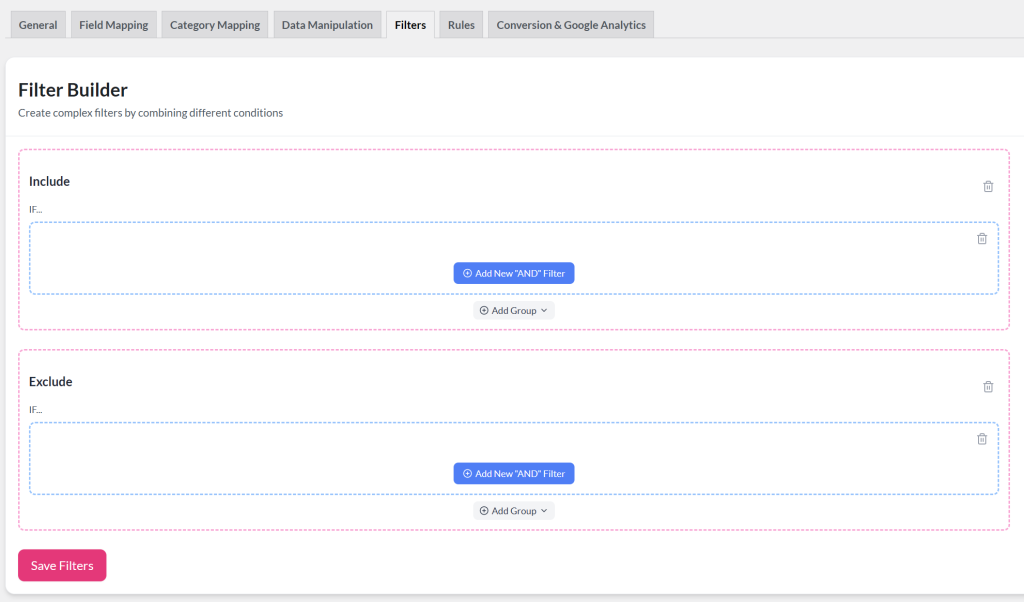
Common use cases include:
- Excluding out-of-stock or low-margin items
- Including only products from specific categories or brands
- Filtering by price range, stock status, or custom attributes
For step-by-step guidance, see How to create filters for your product feed. You may also explore additional use cases and examples here: Filters & Rules Knowledge Base.
Rules
With Rules, you can dynamically adjust product data in your feed using “IF… THEN…” logic through the Rules Builder. This feature lets you tailor your feed for Google Merchant Center without altering the original data in your store.
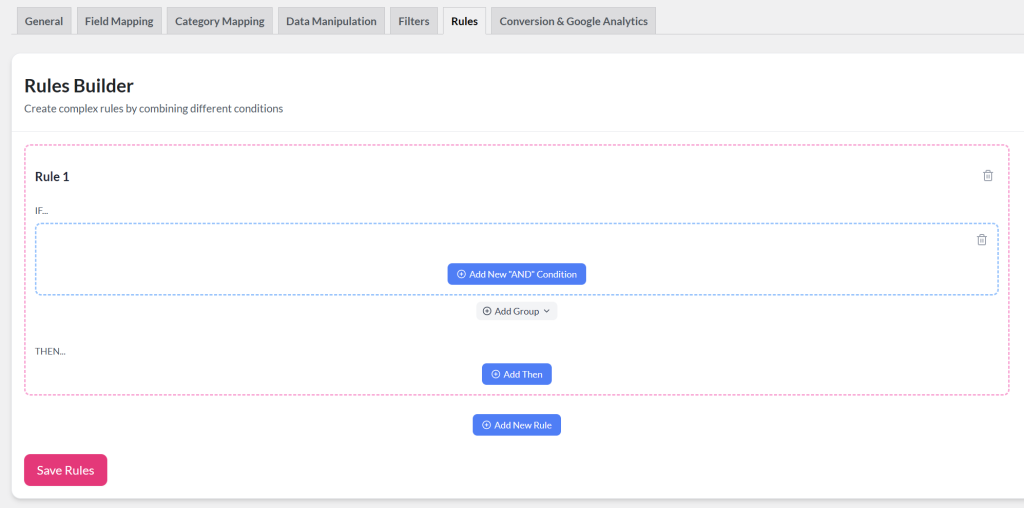
With rules, you can:
- Add or change values (e.g., prepend “Buy Now:” to product titles)
- Adjust pricing for certain categories or brands
- Standardize attributes like color names (e.g., convert “blk” to “Black”)
- Set fallback values when fields are empty
Rules are especially powerful when combined with filters, ensuring your feed stays accurate, consistent, and optimized for Shopping ads.
For step-by-step instructions, see How to create rules. You can also explore practical use cases here: Filters & Rules Knowledge Base.
Conversion & Google Analytics
To track product performance in Google Analytics, enable UTM parameters in your feed settings. This ensures every product URL includes tracking tags, so you can measure clicks, conversions, and ROI from Google Shopping.
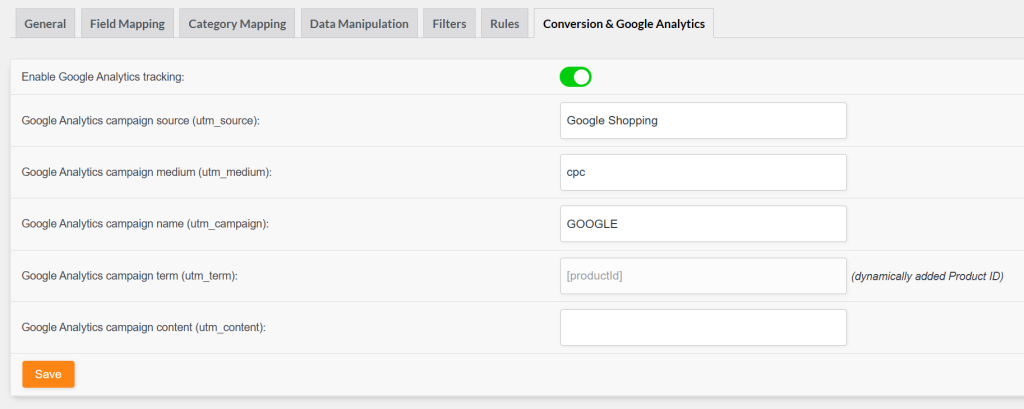
You can configure the following parameters:
- utm_source – Defaults to Google Shopping (channel name). Can be changed to any value.
- utm_medium – Commonly set to cpc (paid ads) or shopping (free listings). Can be customized as needed.
- utm_campaign – Used for campaign grouping (e.g., shopping_campaign). Defaults to the feed title but can be changed.
- utm_term – Fixed to adtribes for product-level tracking. This cannot be changed.
- utm_content – Used to distinguish product groups, categories, or promotions. No default value.
Once parameters are set, generate your product feed. You can then manage it under “Manage Feeds”, where you can:
- Monitor feed status – see whether a feed is Ready and check the last update time.
- View and copy feed URL – copy the link to submit to Google Merchant Center or open it directly.
- Edit feed settings – adjust configuration using the ✏️ (edit) icon.
- Duplicate a feed – quickly clone settings for a new feed using the📄(copy) icon.
- Refresh feeds manually – trigger an update with the 🔄️ (refresh) icon.
- Delete feeds – remove old or unused feeds with the 🗑️(bin) icon.
This overview ensures you can easily maintain, monitor, and update all your feeds from one place while keeping them synced with Google Merchant Center.


